Chaos Zero Nightmare Gacha Guide: All Banners, Rescue Rates, and Pity Explained
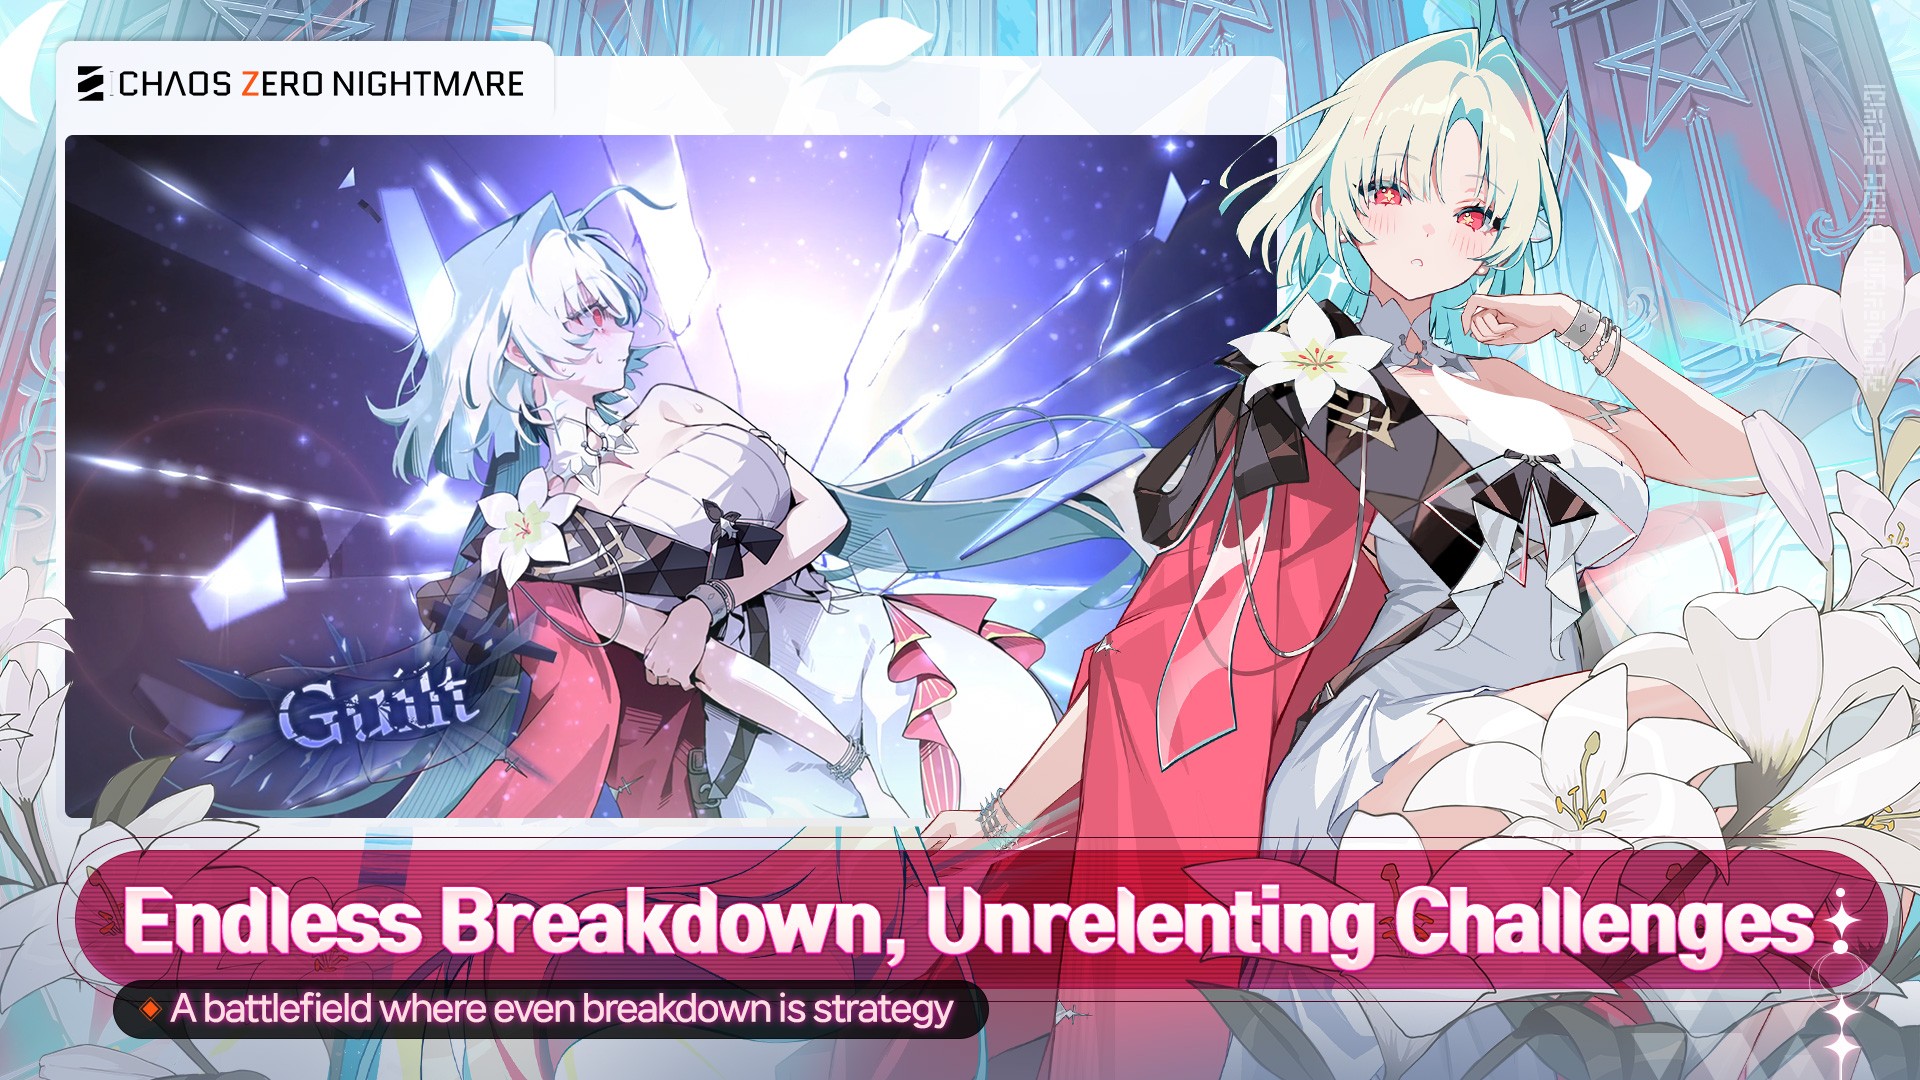

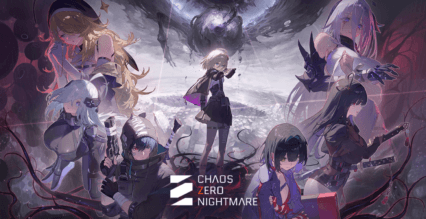
Chaos Zero Nightmare uses a gacha system called Rescue to help players recruit new characters and obtain support units. Like many gacha games, it features several banners, different summoning currencies, and guarantees that reward players after a certain number of pulls.
However, not every banner follows the same rules. Some focus on Combatants, others offer Partners, and featured banners give you better chances of obtaining specific characters. Understanding these differences can help you decide where to spend your Crystals.
This guide explains the currencies, banner types, pull rates, and pity mechanics in Chaos Zero Nightmare, along with a few tips for getting started.
How Rescues and Gacha Currencies Work
In Chaos Zero Nightmare, the characters you use in battle are called Combatants. These come in 4-star and 5-star rarities. Partners are support units equipped to Combatants and can have 3-star, 4-star, or 5-star rarity.
You obtain both through Rescues, the game’s name for gacha pulls.

Crystals are the main premium currency used to purchase Rescue items. Different banners require different items, so it’s important to check which one you need before converting your Crystals.
| Currency or item | Purpose | Cost |
| Crystals | Premium currency used to purchase Rescue items | Earned or purchased |
| Rescue Anchor | Used for standard and beginner Rescues | 160 Crystals |
| Signal Amplification Anchor | Used for featured rate-up Rescues | 160 Crystals |
| Lumina Lens | Used for Prism Module-related Rescues | 120 Crystals |
For example, a ten-pull on a featured Combatant banner requires 10 Signal Amplification Anchors, equivalent to 1,600 Crystals.
Most regular Rescue banners also guarantee at least one 4-star or higher Combatant or Partner within every 10 pulls. The rules for obtaining 5-star rewards depend on the banner.
Special Signal Selective Rescue: The Beginner Banner
The Special Signal Selective Rescue is designed to help new players obtain their first strong Combatant.

Unlike ordinary banners, this beginner-focused Rescue has a selection system. The in-game description states that players are guaranteed a standard 5-star Combatant and receive two temporary save slots. It also allows up to 20 attempts consisting of ten Rescues each before selecting a Rescue record.
This gives beginners more flexibility when choosing an early 5-star character.
The banner ends once a Rescue record is selected, so take your time reviewing the available results before confirming your choice.
This system differs from older descriptions of the beginner banner, which mention a discounted 50-pull limit and a guaranteed 5-star within those pulls. The current in-game Selective Rescue description is the better reference for the version shown here.
Because this banner is intended for new accounts, it’s worth checking before spending resources on regular banners.
Normal Combatant Rescue: Standard Character Banner
The Normal Combatant Rescue, also called Combatant Rescue, is the standard banner for obtaining Combatants.

It uses Rescue Anchors and doesn’t feature a particular character with an increased appearance rate.
According to the published gacha-rate information, the banner follows these rules:
- 5-star Combatant rate: 1%
- 4-star Combatant or Partner rate: 6%
- 4-star guarantee: At least one 4-star or higher reward every 10 pulls
- Soft pity: Starting at 58 pulls without a 5-star, the 5-star probability increases by 4.5 percentage points with each subsequent pull
- Hard pity: A 5-star Combatant is guaranteed by the 70th pull
The banner’s pity counter is separate from other banner categories.
The standard Combatant banner is useful for expanding your roster, especially when you’re still missing several characters. However, since no particular 5-star has an increased rate, it’s less suitable when you’re trying to recruit someone specific.
Your in-game screenshots also show a Nightmare Carnival Celebration benefit offering 10 free Rescues on this banner. This is an event-specific reward rather than a permanent feature of the standard banner.
Normal Partner Rescue: Standard Support Banner
The Normal Partner Rescue works similarly to the standard Combatant banner, except its main 5-star rewards are Partners.

Partners provide additional support when equipped to Combatants, making them an important part of team building.
This banner uses Rescue Anchors and follows the same basic rarity rates:
- 5-star Partner rate: 1%
- 4-star Combatant or Partner rate: 6%
- 4-star guarantee: At least one 4-star or higher reward every 10 pulls
- Soft pity: Increased 5-star probability beginning at 58 pulls
- Hard pity: A guaranteed 5-star Partner within 70 pulls
Its pity counter is separate from the standard Combatant banner and other Rescue categories.
The Normal Partner Rescue is worth considering once you have a reliable selection of Combatants and want to improve their support options.
For beginners, though, recruiting useful Combatants generally deserves attention before investing heavily in Partners.
Amplified Distress Signal: Featured Combatant Banners
Amplified Distress Signal banners give players an increased chance of recruiting a particular 5-star Combatant.

These banners use Signal Amplification Anchors rather than standard Rescue Anchors.
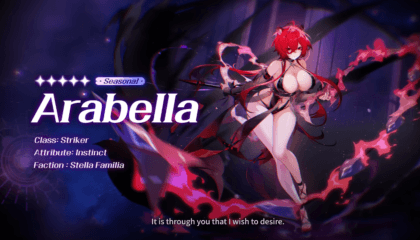
In the current game, examples include a normal rate-up banner featuring Nine and a seasonal rate-up banner featuring Rossweisse. Their different labels and durations are worth noting, so always check the details of the banner you’re pulling on.
The published featured Combatant banner rules include a 1% base rate for a 5-star Combatant and a 6% rate for a 4-star Combatant or Partner. Every 10 pulls guarantees a 4-star or higher reward.
The 5-star pity system begins increasing the appearance rate after 57 unsuccessful pulls, with a guaranteed 5-star by pull 70.
How the Featured Combatant 50/50 Works
When you obtain a 5-star Combatant on a regular rate-up banner, there’s a 50% chance it will be the featured character.
If you receive a standard 5-star Combatant instead, you’ve lost the 50/50. Under the published rules, the next 5-star Combatant you obtain on that banner category is guaranteed to be the featured character.
This means the 70-pull pity guarantees a 5-star reward, but not necessarily the featured Combatant on your first 5-star pull.
The published rules also describe two featured 4-star Combatants. When you obtain a 4-star, there’s a 50% chance it will be one of the featured options. If it isn’t, the next 4-star is guaranteed to be one of them.
Important: The seasonal Rossweisse banner is labeled separately in the live game. Its exact guarantee and carryover rules should be checked through the banner’s Probability Info screen rather than assumed to be identical to every normal rate-up banner.
Amplified Distress Signal: Featured Partner Banners
Featured Partner banners also use Signal Amplification Anchors, but their main rewards are Partners instead of Combatants.

The published rules describe one featured 5-star Partner and two featured 4-star Partners.
The main difference from featured Combatant banners is the 5-star guarantee. According to the source, every 5-star Partner obtained on the featured Partner banner is guaranteed to be the rate-up Partner.
That removes the standard 5-star 50/50 uncertainty described for featured Combatants.
The banner otherwise follows these published rates and guarantees:
- 5-star Partner rate: 1%
- 4-star Combatant or Partner rate: 6%
- 4-star guarantee: One 4-star or higher reward every 10 pulls
- Soft pity: Increased 5-star probability starting at 58 pulls
- Hard pity: Featured 5-star Partner guaranteed within 70 pulls
For featured 4-star Partners, the published rules state that each 4-star reward has a 50% chance of being one of the rate-up options.
These banners can be valuable when you already have the Combatant you want to build around and need a particular Partner to support them.
Prism Module Rescue: Card Animation Rewards
Chaos Zero Nightmare also includes a separate Rescue system for Prism Modules, which provide collectible card-animation-related rewards rather than new Combatants or Partners.

The published system describes a banner where you select a desired Prism Module associated with a standard 5-star Combatant.
Unlike character and Partner banners, this Rescue uses Prism Lenses, not Rescue Anchors or Signal Amplification Anchors.
The source lists a 3% base rate for a 5-star Prism Module and a 6% rate for a 4-star Prism Module. It also describes increasing 5-star odds beginning at 58 pulls and a guaranteed 5-star Prism Module within 70 pulls.
Every 5-star Prism Module obtained through this system is described as matching the selected character.
Because Prism Modules are a separate reward category, beginners should understand what they provide before spending Crystals on them. They aren’t a substitute for recruiting Combatants or Partners.
Memory Archive Exchange: Using Rewards From Duplicate Pulls
Rescues can also provide exchange currencies that you can spend in the Memory Archive Exchange.
The two currencies described in the published guide are Moments of the Radiant Hero and Moments of the Radiant Traveler.

Moments of the Radiant Traveler are obtained from 3-star Partners, with 20 awarded per 3-star Partner. The guide describes a monthly exchange where 90 Moments can purchase five Rescue Anchors and five Signal Amplification Anchors.
Moments of the Radiant Hero come from duplicate 4-star and 5-star Combatants or Partners. The amount depends on the reward and, for Combatants, how many duplicates you’ve already obtained.
The exchange includes additional Rescue items, Partners, Combatant Memory Codes, and upgrade materials.
For example, the source lists one Rescue Anchor or Signal Amplification Anchor for 10 Moments of the Radiant Hero, a standard 5-star Partner for 300 Moments, and a 5-star Combatant Memory Code for 400 Moments.
These exchanges give you a way to recover some value from repeated pulls. Check the current shop inventory before spending, since available items and limits may change.
Beginner Tips for Spending Crystals
If you’re new to Chaos Zero Nightmare, the most important decision is choosing which banner deserves your resources.
Start by checking the beginner Selective Rescue, since its special selection mechanics can help you secure an early 5-star Combatant.
After that, prioritize building a functional team before chasing every new featured character or Partner. Having several useful Combatants gives you more options when approaching different encounters.
It’s also worth saving Crystals until you have enough pulls to make meaningful progress toward a guarantee. A single lucky pull is possible, but the pity system exists because 5-star rewards aren’t guaranteed on every attempt.
Finally, keep standard Rescue Anchors and Signal Amplification Anchors separate in your planning. They cost the same amount of Crystals, but they’re used on different banner categories.
Chaos Zero Nightmare offers several ways to expand your roster, from beginner and standard Rescues to featured Combatant banners, Partner banners, and Prism Module rewards.
The key is understanding what each banner provides and how its guarantees work before committing your Crystals. Prioritize the characters and support options that will help your team, and pay attention to the rules displayed on seasonal banners.
You can also play Chaos Zero Nightmare on PC with BlueStacks to manage your roster, review Rescue banners on a larger screen, and enjoy the game’s battles with customizable controls.