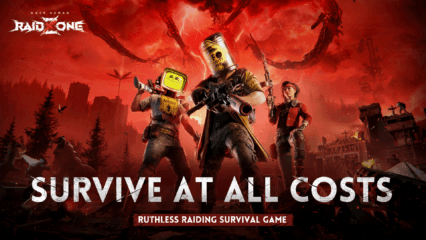
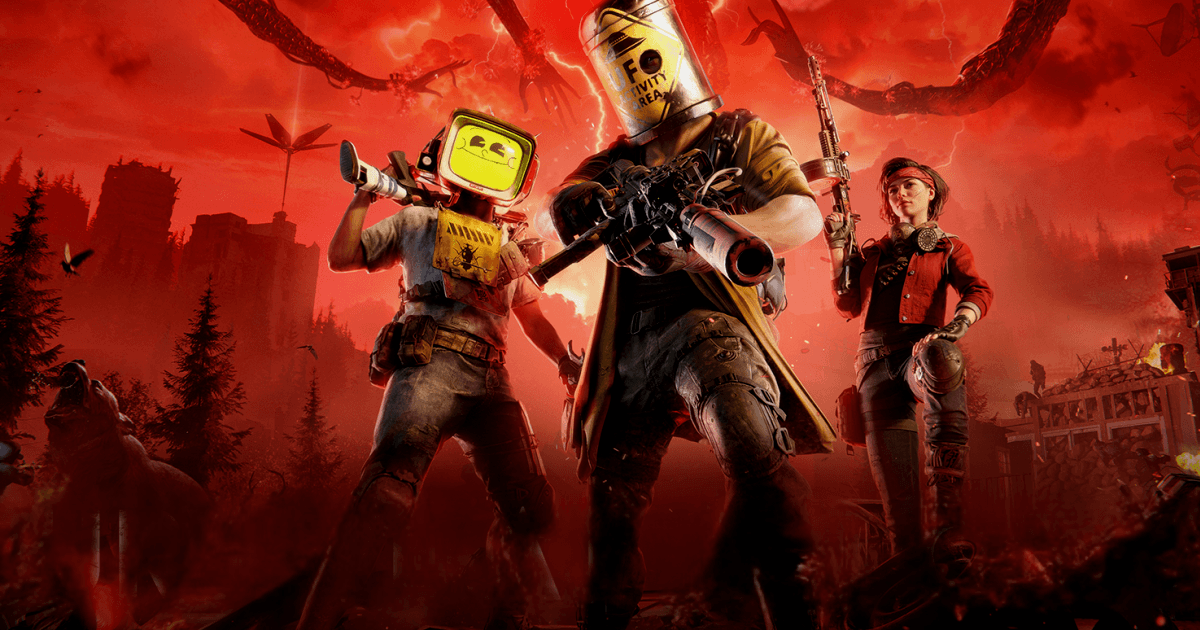
Once Human: RaidZone Complete Map Guide – Navigating Broken Delta Like a Pro
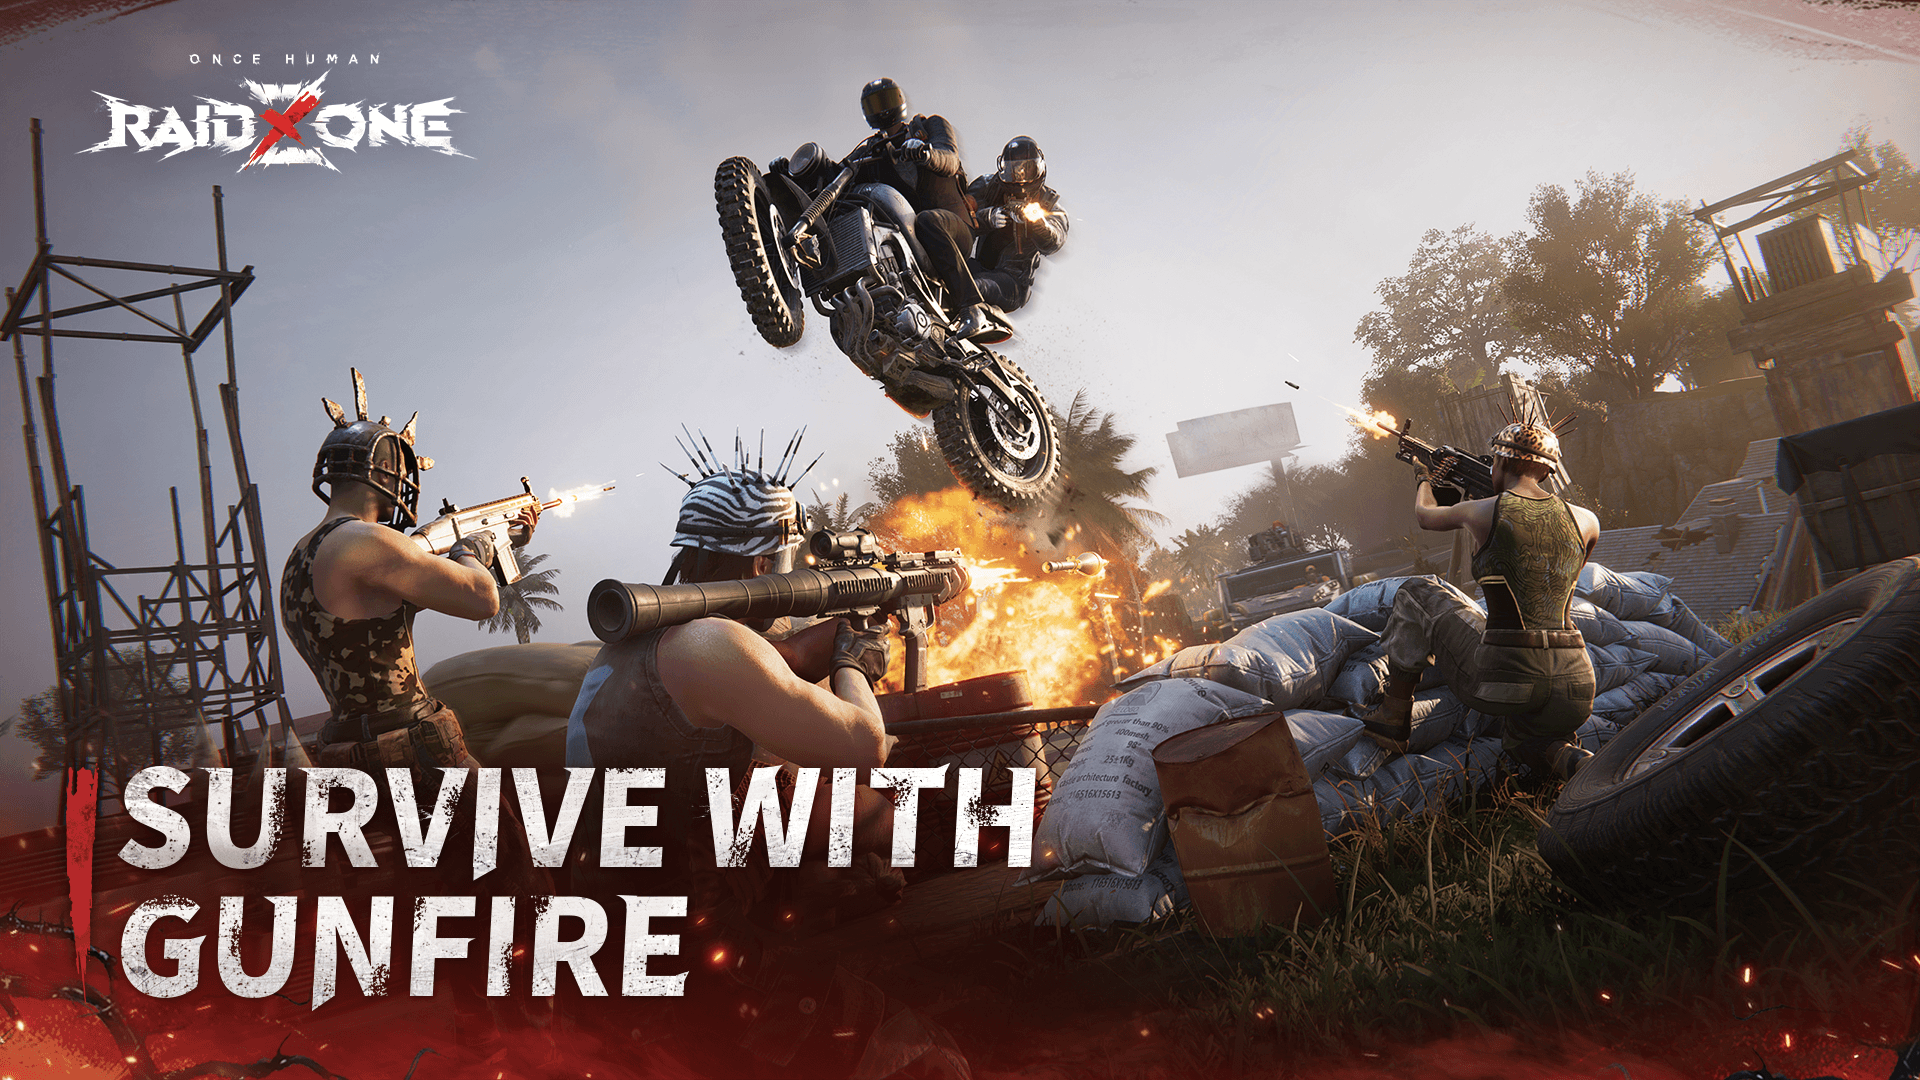
The Broken Delta map in Once Human: RaidZone is your lifeline—your sandbox in this open-world survival adventure game. Every settlement, crate, and enemy spawn is part of a dynamic ecosystem where the smart use of map information can mean the difference between walking away with a full inventory or losing everything to another player. This guide will help you understand how the map works so you can make better decisions, find valuable loot, and avoid the most common traps.

The Broken Delta will be your playground during your time in RaidZone.
In RaidZone, the map is a more stripped-down but high-stakes version of its PvE counterpart. Zones are clickable, revealing detailed information about what enemies, resources, and crates you can expect there. It’s a tool that rewards players who check it often and plan their routes instead of wandering blindly.
Settlements and Their Functions
Settlements are marked locations on the map that can contain specific enemies, loot crates, and sometimes rare elite spawns. Clicking on one will show its Settlement Function — usually indicating what type of enemies or activities can be found there — and a list of crates that might appear.

Settlements are a prime source of crates and other resources.
Some settlements are prime farming spots because they have:
- A high chance to spawn intermediate or advanced crates.
- Elite enemies like the Rosetta Heavy Elite, which can drop advanced weapons, explosives, and rare Combat Deviations.
- Resource-rich areas that are worth contesting for both solo players and teams.
Choosing which settlements to target first depends on what you need most; resources, gear, or rare crafting materials.
Crate Types and Spawn Indicators
Crates are your main source of gear progression in Once Human: RaidZone, and the map tells you exactly where and what type might appear.
- Basic Crates: modest rewards and common crafting materials.
- Intermediate Realm Crates: moderate Memory Chips, rare materials, intermediate gear, and a chance at access cards for advanced crates.
- Advanced Realm Crates: large Memory Chip rewards, high-tier gear, rare materials, and advanced crafting parts.
- Supply Crates: smaller rewards with the potential for intermediate access cards.

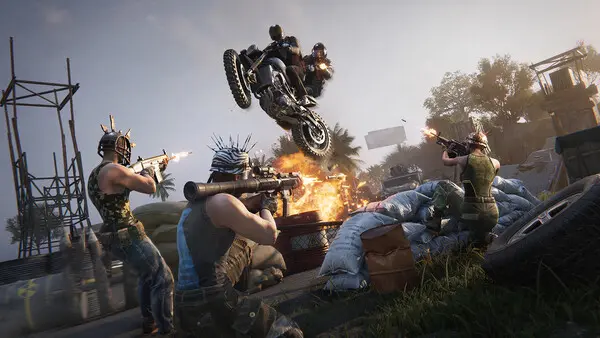
You’ll probably get into plenty of fights for crates like these ones.
Advanced Realm Crates and Intermediate Realm Crates are especially valuable and are often guarded or located in high-traffic areas. The map will display icons for these crates in active settlements, so always check before heading out. Keep in mind that some crates require access cards, which can also be found through looting.
Tracking High-Value Targets
Elite enemies are another reason to study the map carefully. Their spawn locations are listed in certain settlements, and defeating them can yield sniper rifle parts, explosives, or rare Deviations. These areas can also be hotspots for PvP since other players are likely to chase the same high-value targets.

The map can give you an overview of the enemies and targets you can find in most zones.
If you see an elite listed on a settlement’s map panel, approach with caution. It’s often worth scouting the area first or going in with a team. For any of your tracking and navigation purposes, we strongly suggest checking out this interactive Once Human: RaidZone map.
Navigating Safely
The map isn’t just about finding loot, it’s also about staying alive long enough to keep it. Understanding building protection times is key if you plan to return to your base mid-session. During protection hours, your buildings can’t be damaged, but outside of that window, they’re fair game.
A good beginner tip for Once Human is to avoid obvious travel routes when carrying valuable loot, and use terrain to break line of sight. The map helps you identify high-traffic corridors and open plains where you’ll be more exposed. Strongholds and crate-rich areas are often heavily contested, so plan alternate routes in case your main path becomes a warzone.

Remember to always check your surroundings when traveling across the Broken Delta.
Here are some quick safety tips when navigating the Broken Delta:
- Stick to elevated terrain when possible to spot threats early.
- Use settlements with active crates as bait spots, but approach from less obvious angles.
- Avoid traveling with a full inventory unless you have a planned safe drop-off point.
- Check for elite enemy icons before entering a zone — they often draw more players.
- Move during quieter server hours if you’re farming in high-traffic areas.
Mastering the Broken Delta map is about more than knowing where things are — it’s about using that knowledge to control your movement, pick your fights, and maximize your gains. With the right map awareness, you can turn dangerous zones into your personal hunting grounds. And for sharper control, faster aiming, and a clearer view of your surroundings, you can play Once Human on PC with BlueStacks to give yourself the best possible edge.